Project Description
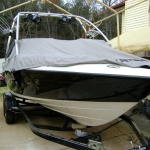
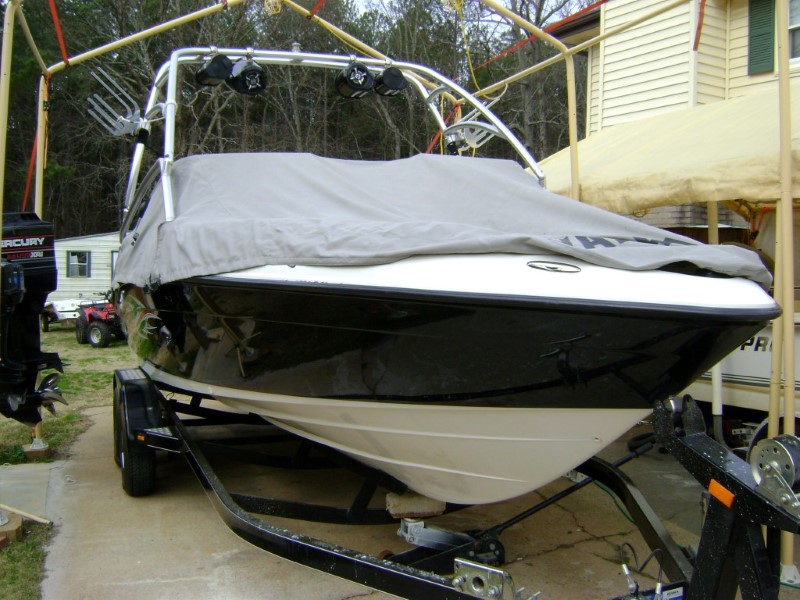
2006 Yamaha AR 230 HO
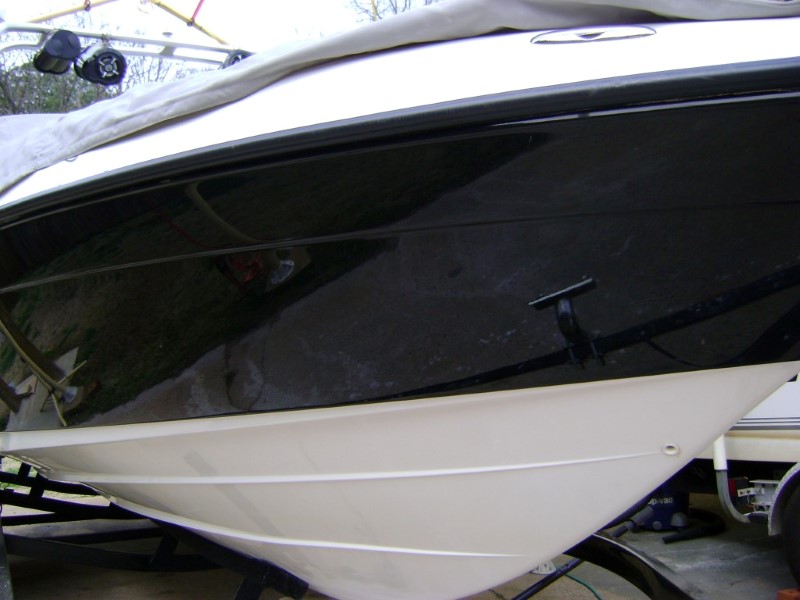
So, you might have seen this repair featured on the home page of my website, just the before and after photos, these are a few more pictures of the repair process. However, I do not post all of the photos I take of the repair process, for many different reasons, and I often struggle with not completely show the entire process to potential customers.
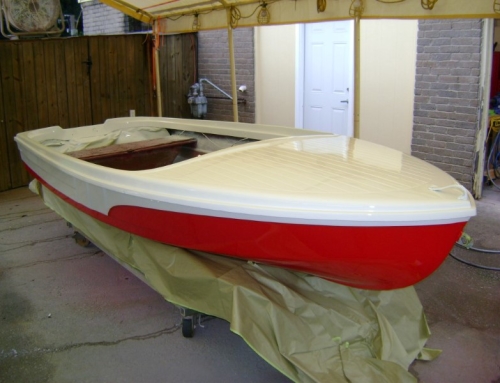
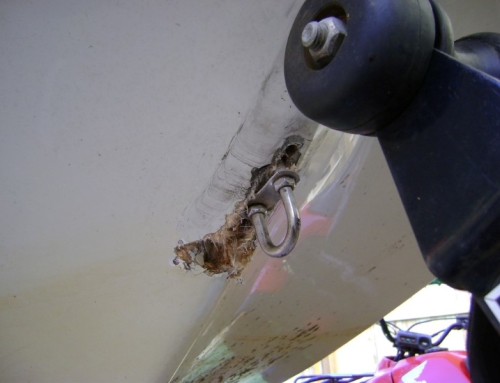
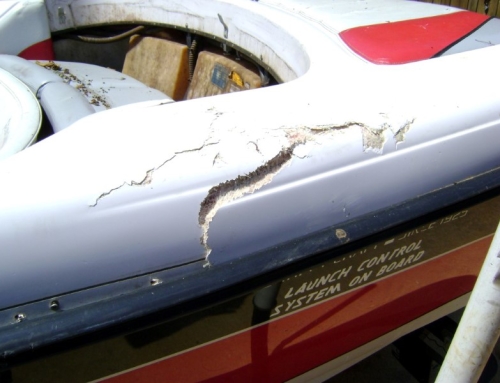
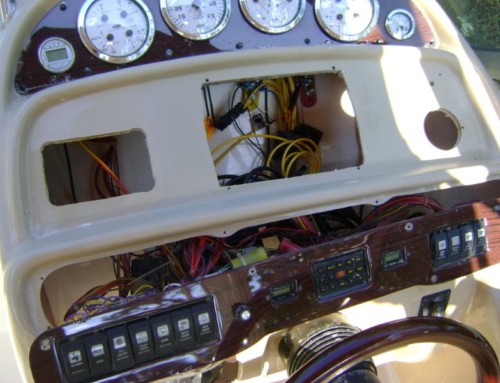
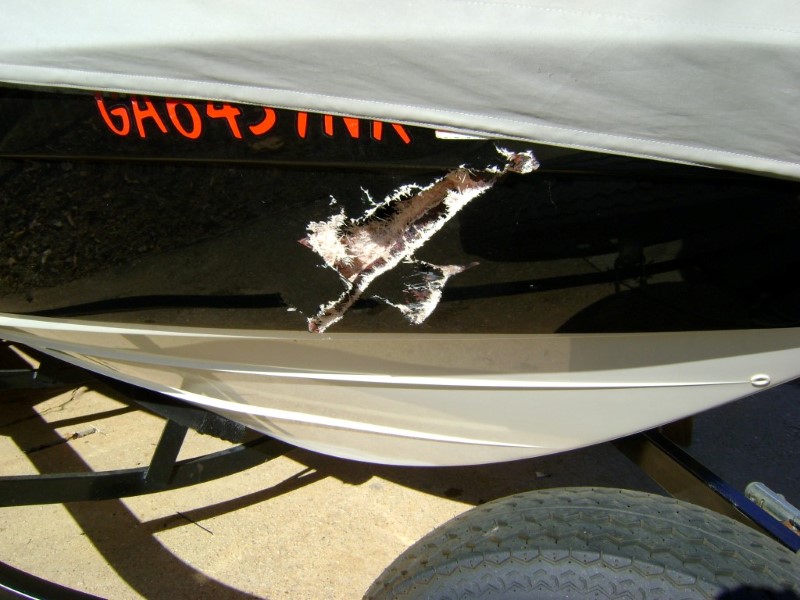
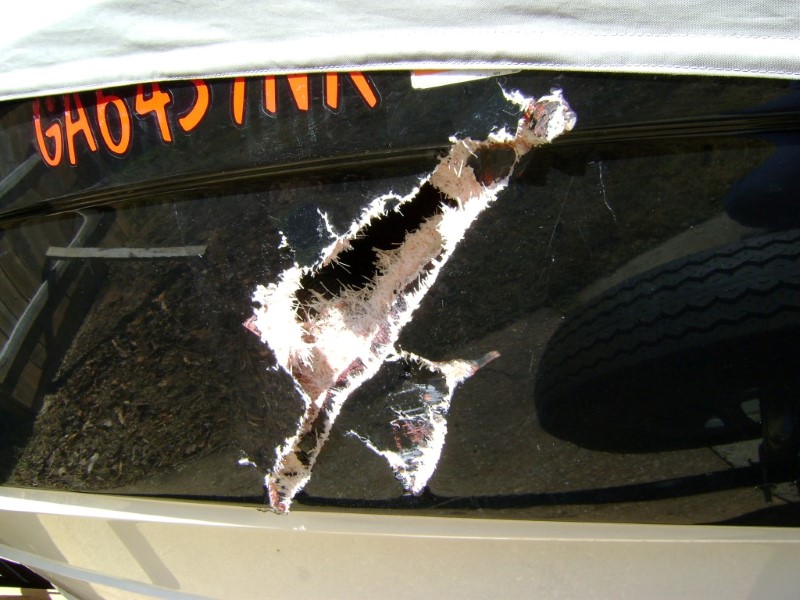
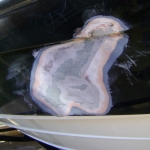
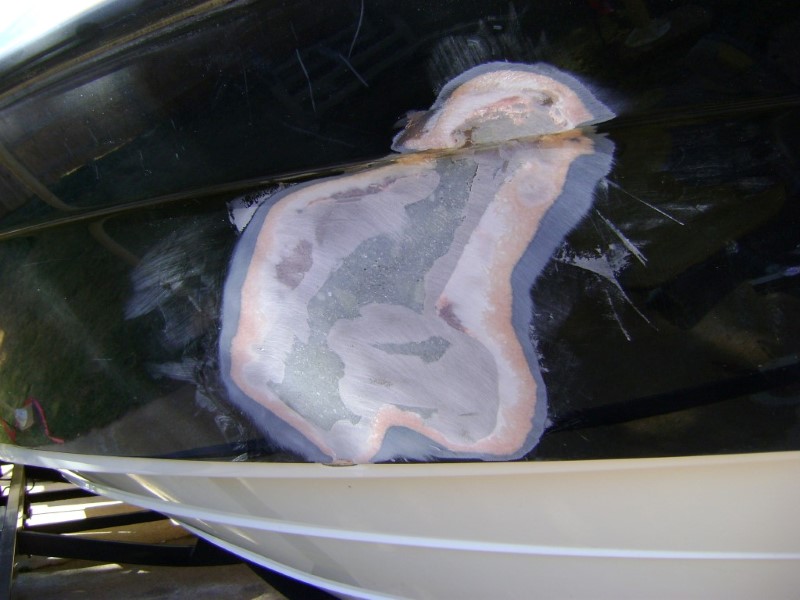
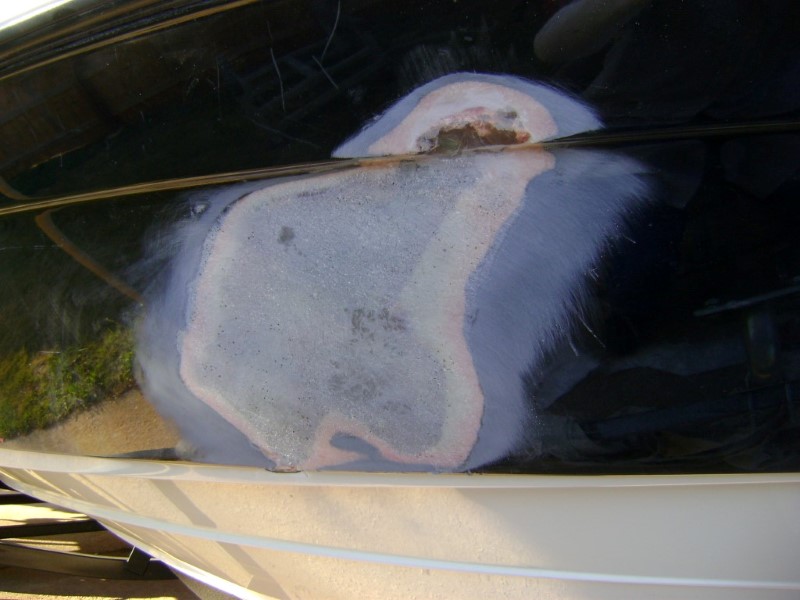
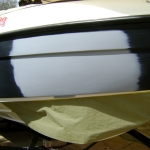
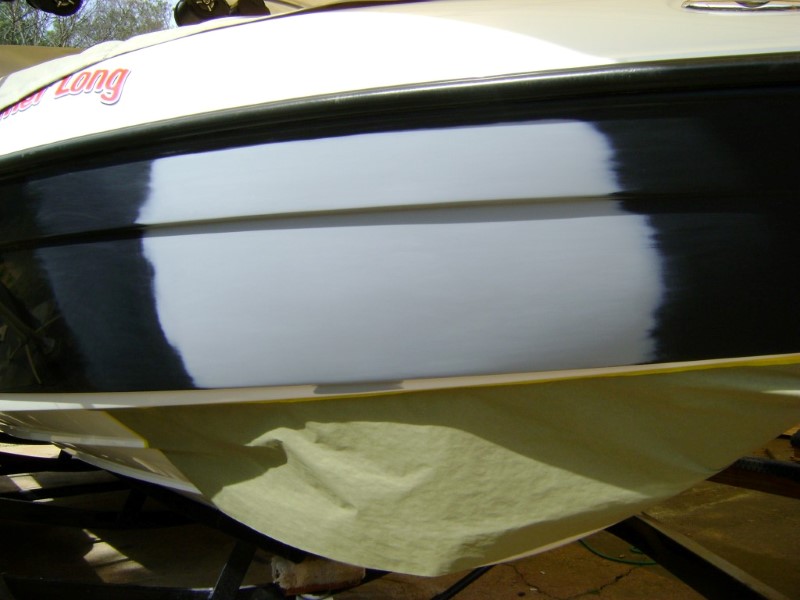
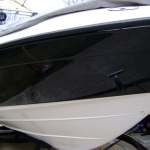
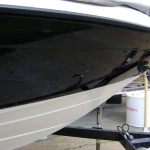
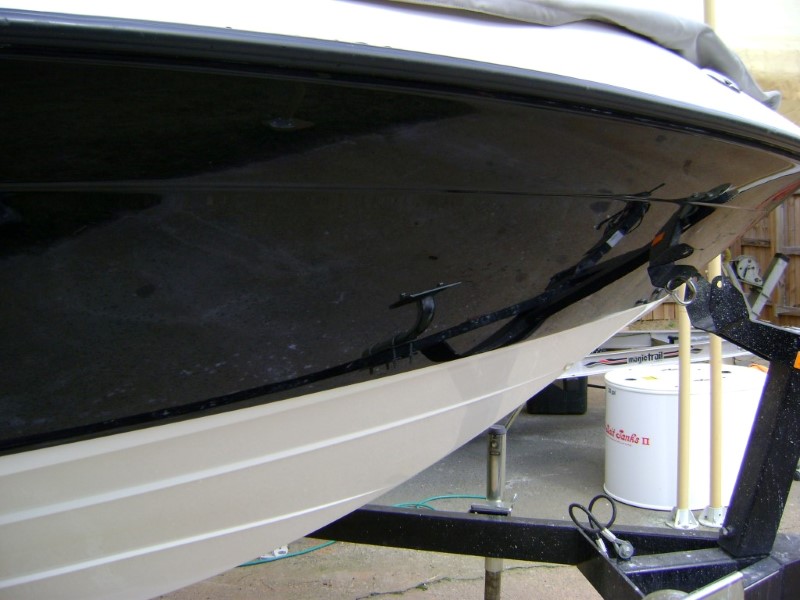
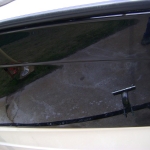
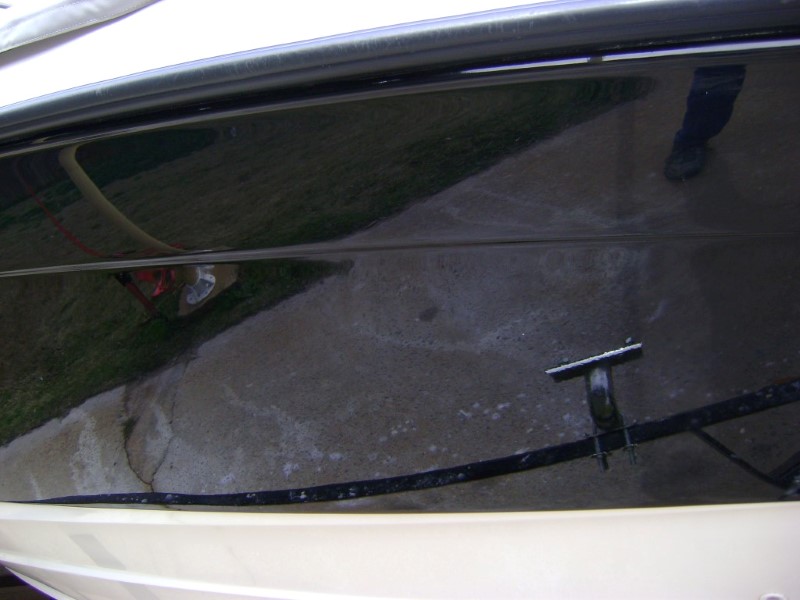
Here you can see the different stages of repair on this 2006 Yamaha Ar 230, I believe it hit a floating log or something very big floating in the channel. However, what you don’t see is the extensive repairs done to the inside of the hull in order for this repair job to be structurally sound. What you are seeing in theses pictures is that the majority of the repair was done from the inside and just needed a final layer of fiberglass to tie it all together on the outside. Finally, fillers were used to finish off the area, then primer and paint.
Many people have commented on this repair in different forums and have criticized different things about it, such as “Looks like a lot of faring compound used”, well, there wasn’t. This is how the repair process is done throughout the repair industry, and actually there was only about a paper thin to pencil lead thickness of actual filler (1 to 3 mils) left on the surface after block sanding to the finish. Just thought I’d bring that up in case anybody was interested.
For more information about the way my repairs are done or if you have any questions feel free to call.
-
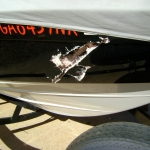
- 2006 Yamaha Ar230Ho Hull Damage (1)
-

- 2006 Yamaha Ar230Ho Hull Damage (2)
-
- 2006 Yamaha Ar230Ho Hull Damage (3)
-
- 2006 Yamaha Ar230Ho Hull Damage (4)
-
- 2006 Yamaha Ar230Ho Hull Damage (5)

-
- 2006 Yamaha Ar230Ho Hull Damage (6)
-

- 2006 Yamaha Ar230Ho Hull Damage (7)

-
- 2006 Yamaha Ar230Ho Hull Damage (8)
-
- 2006 Yamaha Ar230Ho Hull Damage (9)
-
- 2006 Yamaha Ar230Ho Hull Damage (10)
-
- 2006 Yamaha Ar230Ho Hull Damage (11)
Use your Browser’s Back Button or: